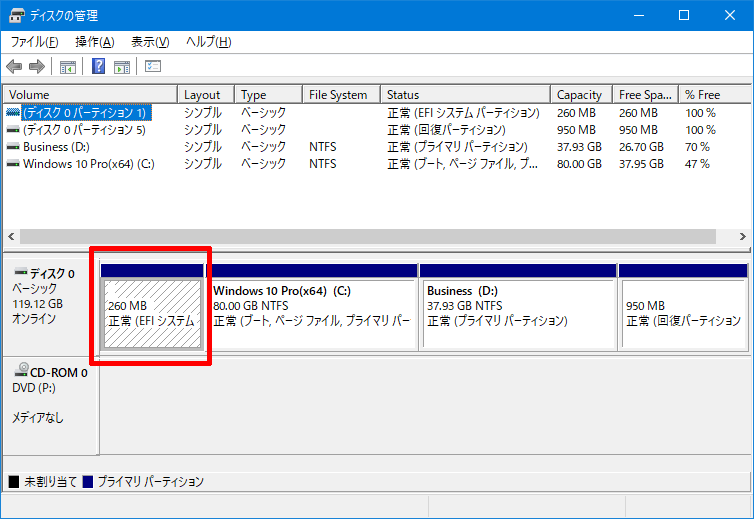
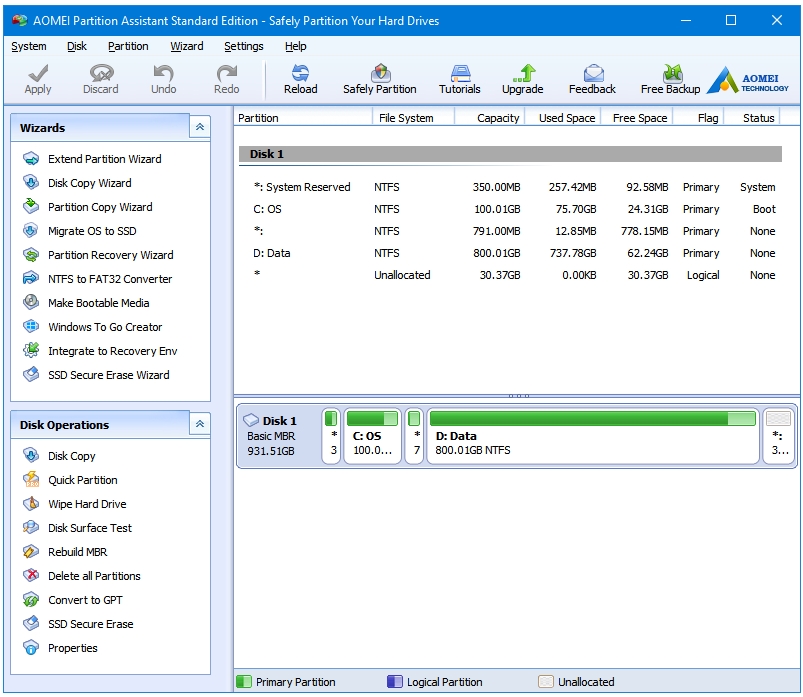
EaseUS Partition Master will probably fix all Partition-related errors from your Windows 10 computer. So, here’s how you can use EaseUS Partition Master to solve Partition Not Recognized by Windows 10. First of all, download & install EaseUS Partition Master on your Windows 10 computer. Now launch the tool and you need to click on the ‘Partition Recovery’ option. The best way to create partitions in Windows 10 is using the operating system’s built-in ‘Disk Management’ snap-in or with the help of ‘DISKPART’ command-line tool. This tutorial demonstrates how you can easily create partitions using the ‘Disk Management’ snap-in while using Windows 10.
On Windows 10, whenever you get a new hard drive, it's important to format it before you start dumping files. The reason is that you want to ensure that the drive is working correctly, completely clean, and free of malware or malicious code that may harm your installation and personal files.
And it's not just a good practice for new drives, but for used hard drives too (especially those previously connected to a different OS), as using the proper formatting, you can avoid issues and compatibility problems.
Basically, when you format a hard drive, you're deleting all the data residing on the storage, and you start clean with a compatible file system (including NTFS, FAT32, or exFAT), which in this case Windows 10 understands to read and write data.
There are many methods available to format a hard drive, but using Disk Management could be considered one of the best options for most users.
In this Windows 10 guide, we'll walk you through the steps to correctly format a traditional hard drive or Solid-State Drive (SSD), whether it already has a partition or it was never initialized.
How to format existing partition using Disk Management
If you have a hard drive already configured with a partition, you can just format the existing partition to erase its content and start fresh with a clean drive.

To format a partition using Disk Management, use these steps:
- Open Start.
- Search for Disk Management and click the top result to open the experience.
Right-click the new hard drive and select the Format option.
- In the 'Value label' field, type a descriptive name for the drive.
- Use the 'File system' drop-down menu, and select NTFS (recommended for Windows 10).
- Use the 'Allocation unit size' drop-down menu, and select the Default option.
Check the Perform a quick format option.
Quick Tip: While performing a quick format wipes the drive faster, it doesn't check if the drive is damaged. On the other hand, when clearing the option, a full format will be performed, which not only wipes the drive clean, but it'll also check for bad sectors. It's an option that could take several hours, but it's a good practice to make sure the hard drive is in working conditions.
- Unless necessary, clear the Enable file and folder compression option.
- Click the OK button.
- Click the OK button again in the warning message.

Once you've completed the steps, the system will format the selected partition on the drive, and then you can start using it to store files.
How to create and format new partition using Disk Management
If you happen to have a hard drive that was never formatted, you'll need to initialize and create a new partition before you can format it.
Best Partition Format For Windows 10
Typically, you'll know when a hard drive doesn't have a partition, because it'll not appear in File Explorer, and on Disk Management, it'll appear as unallocated space.
To properly set up a blank hard drive, use these steps:
- Open Start.
- Search for Disk Management and click the top result to open the experience.
Right-click the hard drive marked as 'Unknown' and 'Not Initialized,' and select Initialize Disk.
- Check the disk to initialize.
Select the partition style:
- Master Boot Record (MBR) for hard drives smaller than 2TB in size.
- GUID Partition Table (GPT) for hard drives larger than 2TB in size.
- Click the OK button.
Right-click the Unallocated space, and select the New Simply Value option.
- Click the Next button.
Under the 'Simple volume size in MB' section, leave the default size if you're planning to use the entire hard drive to store files. Otherwise, specify the amount of space in megabytes that you want to allocate for the partition.
- Click the Next button.
Use the 'Assign the following drive letter' drop-down menu to select a letter for the new hard drive.
- Click the Next button.
- Use the 'File system' drop-down menu, and select NTFS (recommended for Windows 10).
- Use the 'Allocation unit size' drop-down menu, and select the Default option.
- In the 'Value label' field, type a descriptive name for the drive.
Check the Perform a quick format option.
Quick Tip: If you prefer a full format, clear the quick format option. Just keep in mind that depending on the size of the drive, it can take hours to finish.
- Unless necessary, clear the Enable file and folder compression option.
- Click the Next button.
- Click the Finish button.
After completing the steps, the new hard drive will be initialized, partitioned, and properly formatted.
If you're having trouble using Disk Management to format a hard drive, because of data corruption or other severe issues, you can use the DiskPart command-line tool to fix the problem.

Best Partition Setup For Windows 10
While we're focusing this guide on Windows 10, the steps outlined above will also work on Windows 8.1 and Windows 7.
More Windows 10 resources
For more helpful articles, coverage, and answers to common questions about Windows 10, visit the following resources: